Introduction
Hey everyone, and welcome!
If you're reading this, you've probably tried some pre-built decks ("precons") and have built a couple of decks you've found online but now you want to build your own creation from scratch. Well, you've come to the right place.
This guide is for you if you're new to Magic and jumping straight into Commander, or if you've played a bit and want to understand how to actually build a deck that works well and, most importantly, is fun for you to play.
My goal here is to get you past copying a deck list or buying one off the shelf—which is totally okay and cool to do no matter what experience level you're at. I will de-construct the deck-building process, break it down into understandable steps based on foundational game principles, and empower you to make smart choices and build decks you're proud of.
This guide will answer the following questions:
- How to build a Commander deck?
- How to choose your commander?
- How much mana do I need to run?
- How do I decide what cards go in my deck?
- My deck has over 100 cards. How do I decide what cards to cut?
We'll start with the absolute basics and build up complexity layer by layer.
This is a complete guide to Commander deck building and it's likely you already know some of these things. Feel free to jump to the sections most relevant to you using the navigation menu.
Part 1: Commander Basics
Understanding the fundamentals of the format
Skip this part if you understand the basics of how to play Commander.
The Commander
This is the heart of your deck. It's a specific legendary creature (or sometimes a Planeswalker that explicitly says it can be your commander) that starts the game in a special zone called the Command Zone. You can cast your commander from this zone by paying its mana cost. If it gets destroyed, exiled, put into your hand, or otherwise goes anywhere else from the battlefield, you can choose to put it back into the Command Zone.

Each time you cast it again from the Command Zone, it costs 2 more generic mana for each previous time you cast it from there (this extra cost is often called the "commander tax"). Having your leader always available shapes how you build and play.
Color Identity
This is crucial. Your commander's color identity determines which cards you can put in your deck. The color identity includes all mana symbols that appear in its mana cost and in its rules text (important note: reminder text in parentheses doesn't count).
For example, if your commander costs White ![]() and Blue
and Blue ![]() mana, and has an ability that costs Green mana
mana, and has an ability that costs Green mana ![]() to activate, its color identity is Green, White, and Blue ("Bant"). You can only include cards in your deck whose color identity is contained within your commander's identity.
to activate, its color identity is Green, White, and Blue ("Bant"). You can only include cards in your deck whose color identity is contained within your commander's identity.
100-Card Singleton
Your Commander deck must contain exactly 100 cards: 1 Commander (with some exceptions) and 99 other cards in your main library. Besides basic lands (Plains, Island, Swamp, Mountain, Forest, Wastes), you can only have one copy of any given card (unless stated otherwise by the card). This is called singleton. This makes games less predictable and means you need ways to consistently find the cards you need. It encourages variety in deck building.
Starting Life Total (40)
Unlike the standard 20 life in other formats, Commander players start with 40 life. Typically, this means games go longer. Small, early attacks ("chip damage") are less effective. Strategies that take time to set up or rely on big, splashy spells become much more viable.
Commander Damage
In Commander, there's an alternate way to lose the game. If a single commander deals 21 points of combat damage to a player over the course of the game, that player loses, regardless of their life total. This makes commanders relevant threats on the battlefield, even if their abilities aren't combat-focused. It gives aggressive commander strategies a unique angle of attack.
The "Spirit" of Commander
Beyond the hard rules, there's a social expectation that comes with playing Commander. Commander is primarily played for fun, self-expression, and creating memorable moments, instead of just winning at all costs. This leads to the idea of the "social contract" and "Rule 0." Talk to your playgroup about what kind of game everyone wants beforehand. Some groups love powerful, fast decks, while others prefer slower, unpredictable games. We'll touch on power levels and Rule 0 later, but understand that communication and aiming for shared fun is often the most important thing in Commander.
Part 2: Choosing Your Commander
Setting the foundation for your entire strategy
Choosing your commander is the decision that informs all other decisions. It sets your colors and usually, but not always, the main theme or strategy of your deck.
The Commander's Role
Think of your commander as the CEO of your deck. Are they going to be doing the heavy lifting themselves, directly attacking or using powerful abilities? Or are they more of a manager, enabling other cards in your deck to shine? Your commander often acts as the engine or centerpiece around which the rest of the deck is built.
Finding Your Style
Ask yourself:
- What colors in Magic do you find cool or fun?
- Are there specific cards you want/like to play?
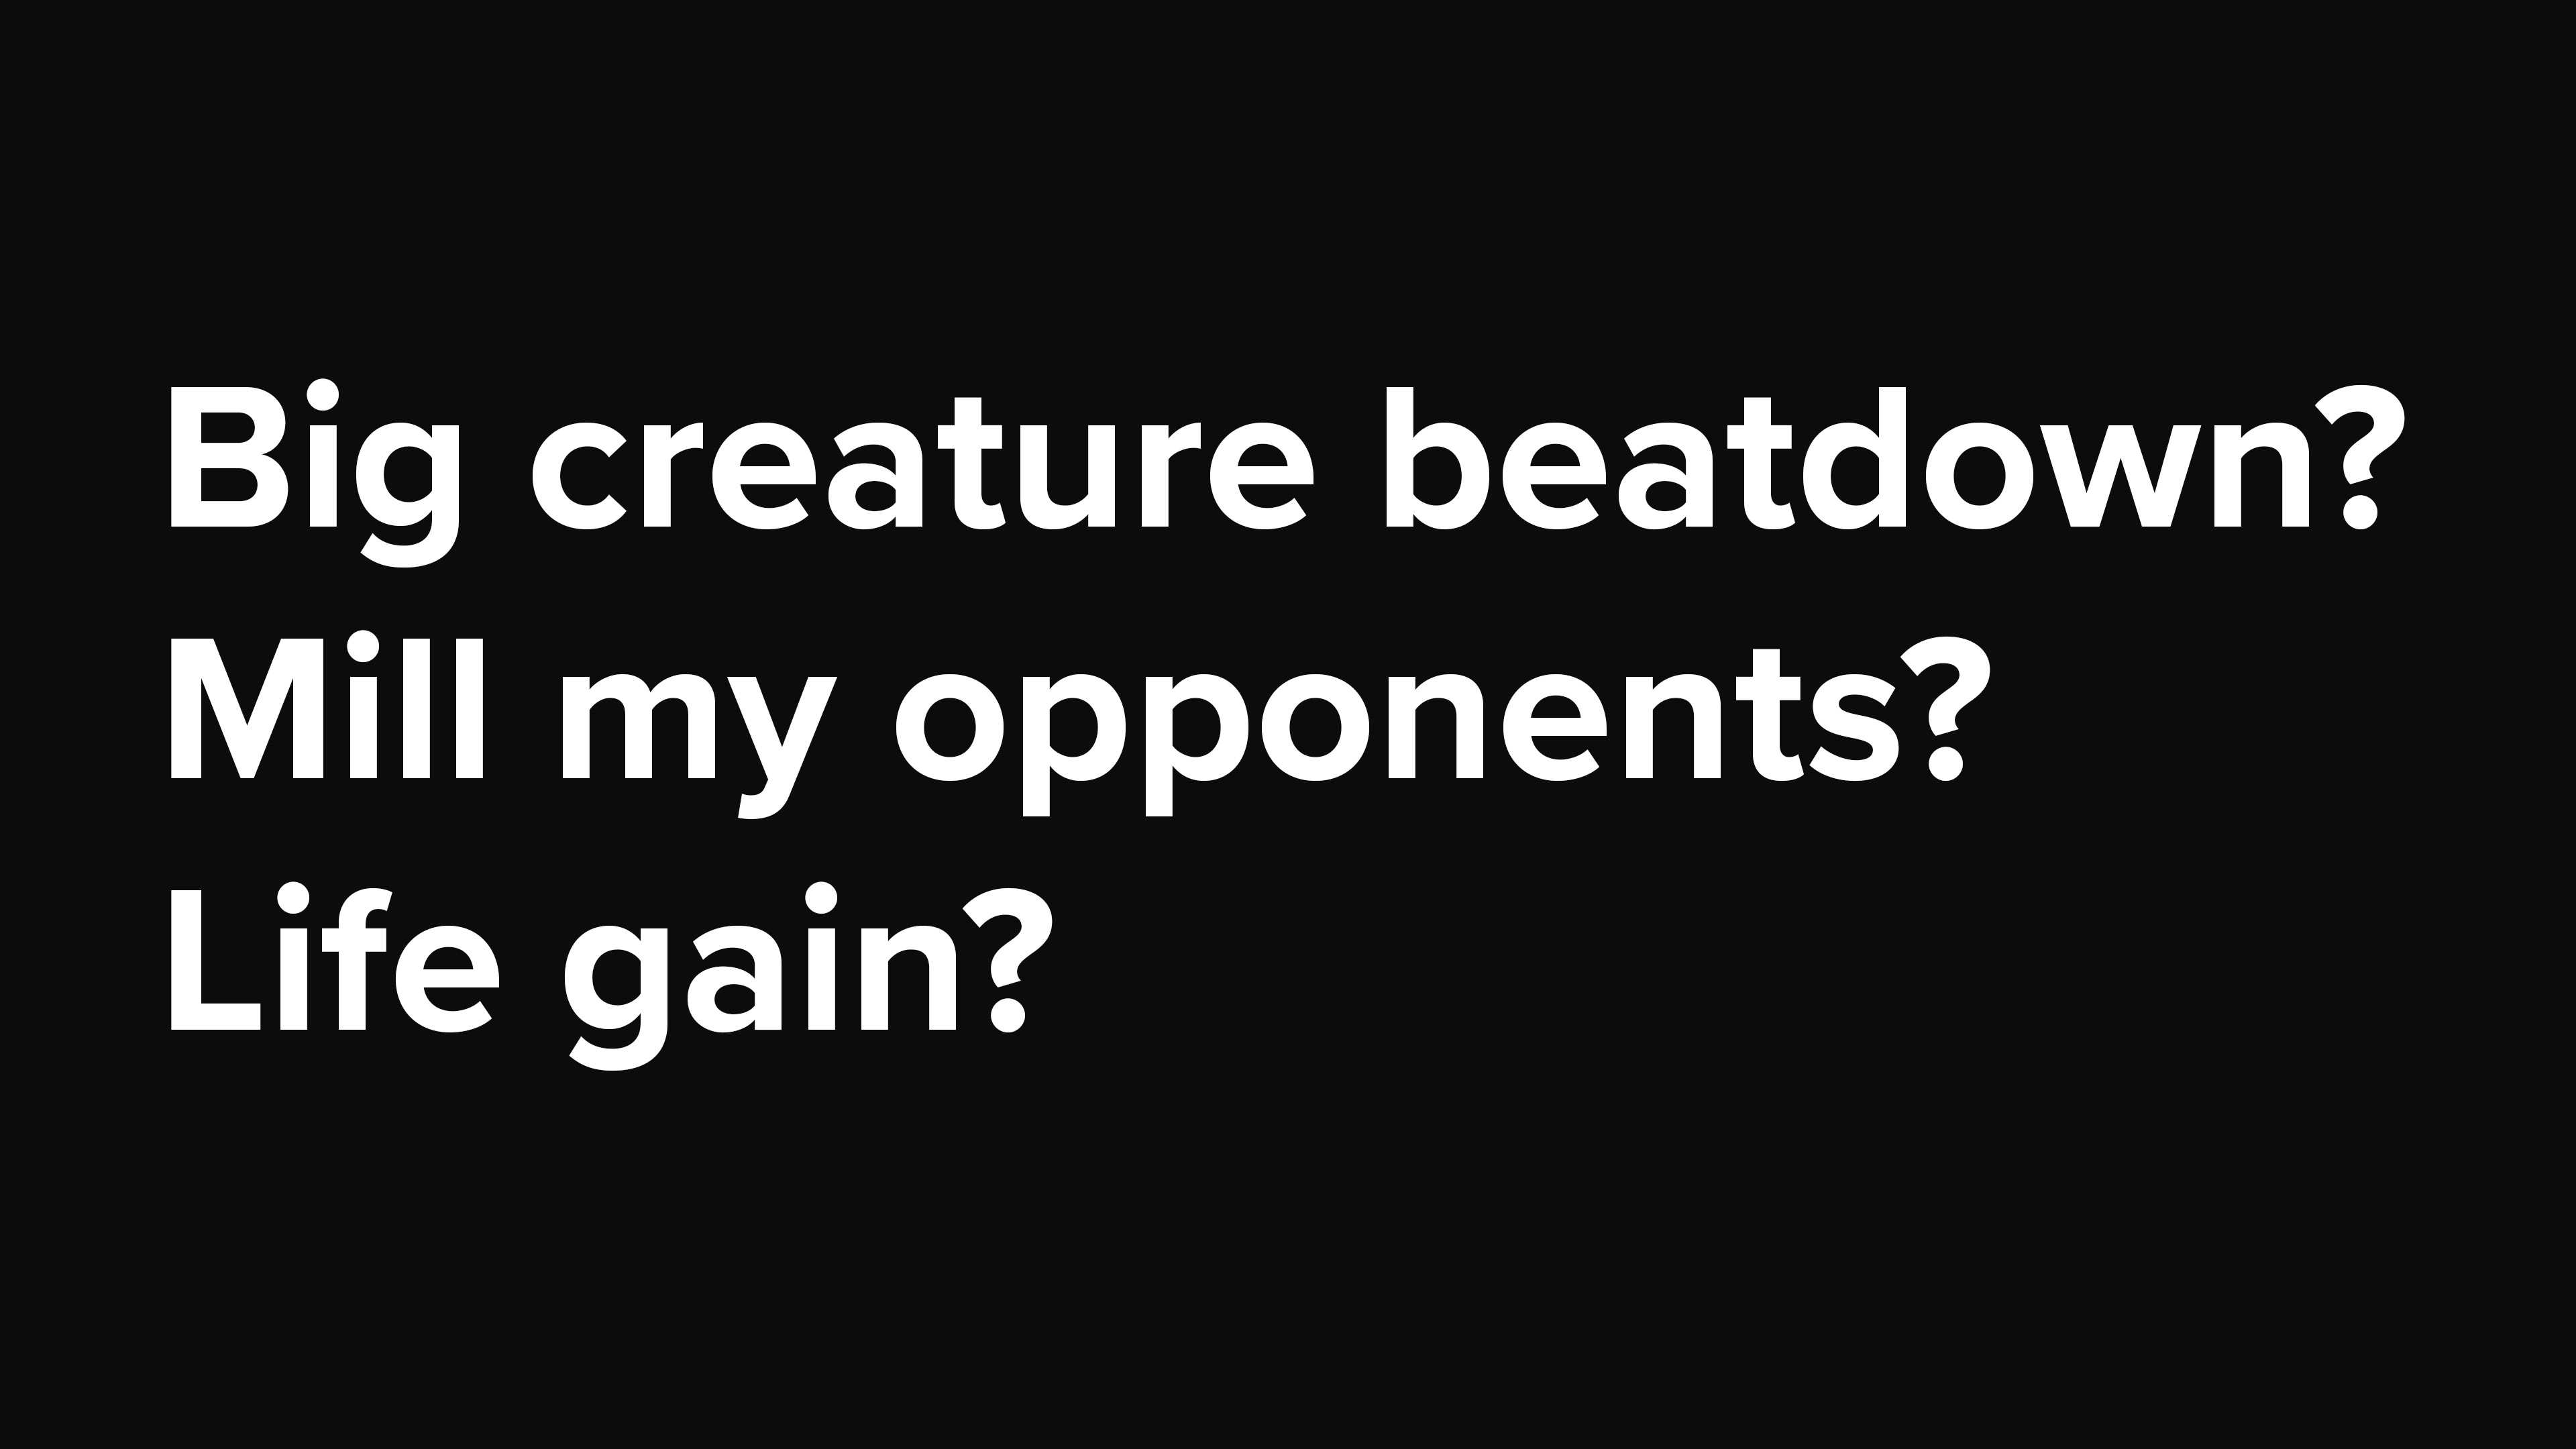
- What kind of game plan sounds appealing?
- Attacking with lots of creatures? (Aggro/Tokens)
- Attacking with one huge, enhanced creature? ("Voltron")
- Casting giant, game-changing spells? (Ramp)
- Controlling the flow of the game, stopping your opponents? (Control)
- Assembling specific card combinations to win? (Combo)
- Generating value over time with repeatable effects? (Value Engine)
- Focusing on a specific creature type? (Tribal)
- Do you want your commander to be the main threat, or someone who helps your other cards do their thing?
Where to Look
Figuring out what to build next can be just as challenging as building itself. Here are some great resources to aid you in that effort:
- DeckCheck: I typically use DeckCheck's search to see what others are making or I set the filters to something and see what comes up. I'll look at the results and find a commander/theme I like. Heck, sometimes I'll just click the random deck button until I get something that really catches my eye.
- Moxfield / Archidekt / TappedOut / etc.: Each of these deck building websites are widely known for their great features. View decks others have created and get inspired for your next build.
- Scryfall: An amazing card database. You can use its advanced search to filter for Legendary Creatures by color, keywords, mana cost, etc.
- EDHrec: This site collects data from thousands of decks online. It's great for seeing what commanders are popular and what cards are often played with them.
Beginner-Friendly Considerations
Starting with a commander that has only one or two colors can make building your mana base (the lands and mana sources) easier and narrows down the card pool, which can feel less overwhelming. Commanders with straightforward abilities are also often easier to build around initially. But don't let this stop you! If a three-color dragon or a complex artifact commander excites you, go for it! Playing a deck you like is always the best motivator.
Choose Colors
Start with colors you enjoy playing that match your preferred strategy.
Pick a Strategy
Decide on how your deck will win games and what gameplay style you prefer.
Consider Complexity
For your first few decks, simpler commanders often lead to better learning experiences.
Part 3: Defining Your Deck's Core Idea
Creating a focused strategy that guides your card choices
Okay, you've got a commander. Now what? Just jamming 99 cards in their colors won't usually work well. You need a plan, a core idea or strategy that your deck is built to execute.
Beyond the Commander
Ask: What does this deck do? Is the goal simply "Cast my commander and attack"? Or is it more specific, like:
- Use cheap spells to ramp mana quickly, then cast huge creatures.
- Create an army of small token creatures and overwhelm opponents.
- Control the board with removal spells until my commander can win the game.
- Assemble a specific combination of cards that generates value or wins.
Keep it Simple (At First)
Especially for your first few builds, try to focus on one main goal that relates directly to your commander or your chosen colors/strategy. Why? Focus helps you make decisions about which cards to include. More often than not, the decks that I see people enjoy the most and win consistently with are the kind that do one thing really good.
Example
Let's say you chose Goreclaw, Terror of Qal Sisma.
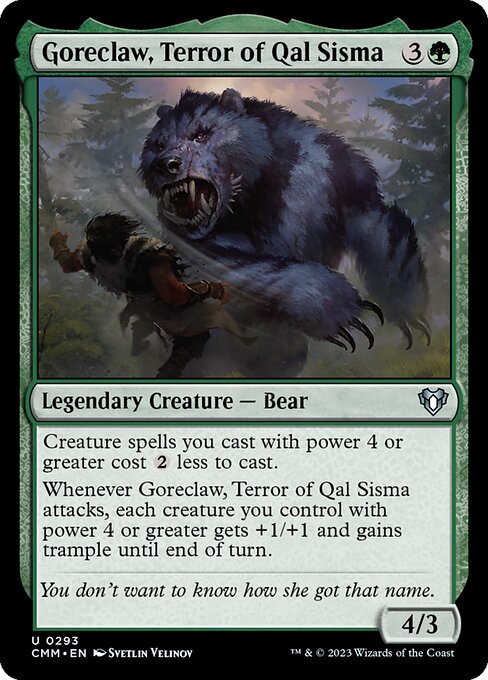
Core Idea: Ramp mana, cast big creatures cheaper thanks to Goreclaw, and attack with those creatures to win. This simple concept guides your card choices: you'll need ramp, big creatures, and ways to support this attack plan.
To Put It Simply
- Identify Your Commander's Strengths: What does your commander do well? What mechanics does it care about? What colors does it provide?
- Choose One Primary Strategy: Decide on a clear goal that aligns with your commander's abilities and your preferences.
- Articulate Your Strategy: Write down your core idea in one sentence. This will guide all your card choices.
Part 4: Building Your Deck's Engine
The essential components that make every deck function
These next sections cover the absolute essentials–the parts of the deck that make everything else run. Get these right, and you're well on your way.
4a Mana
In Commander, getting your mana right is extra important. You have a 100-card deck, meaning less chance of drawing specific lands. You want to cast bigger, more impactful spells and in a multiplayer game, falling behind on mana means falling behind multiple opponents. Consistency is king here. This section breaks down into two key parts: Lands and Ramp.
Lands
Starting Point: Start with 38. Why 38? It's about probability and consistency in your opening hand and early draws. With 99 cards in your library and an opening hand of 7, aiming for roughly 38 lands gives you a statistically favorable chance of having 3 lands in your opener (mulligan included). For most decks, you're going to need to play a land, at minimum, the first 3 turns to be able to do anything worthwhile.
- Note: Decks with very low mana curves or lots of non-land mana sources might go lower and mana-hungry decks might go higher. If you see a deck below 36 or above 43 lands, it's for one of these reasons: The deck was specifically designed and tuned to operate at this land count or the person who built the deck did not build a good deck.
Basic Lands: Plains, Islands, Swamps, Mountains, Forests. These are the backbone. They always enter untapped, are reliable, and are immune to "Blood Moon effects" (cards that change what the land can tap for).
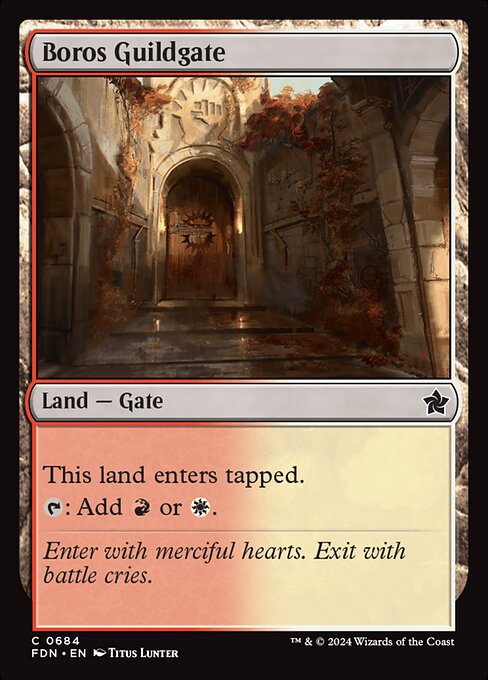
Color Fixing Lands: In decks with 2+ colors, you begin to need lands that can produce multiple colors of mana. This is called color fixing. It's vital to cast your spells on time and this starts with having the right colors available to cast your spells. Here are some options to help you color fix:
Lands that enter tapped and produce two colors. They're slow but reliable and inexpensive.

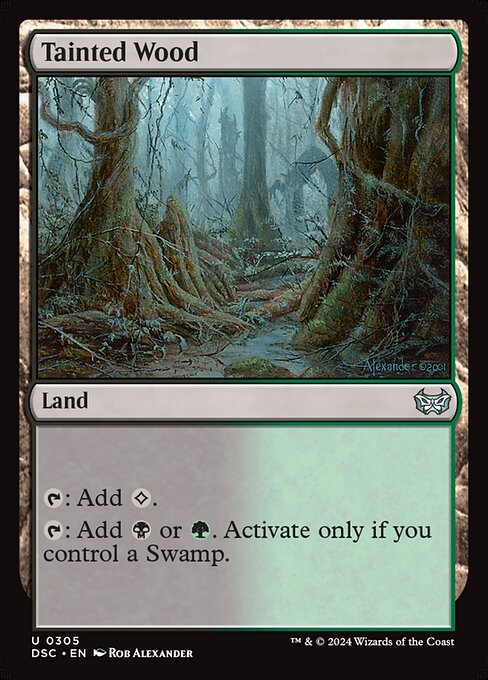
Lands that are a bit more unpredictable but produce two colors. Often better than the former, but come with a catch.

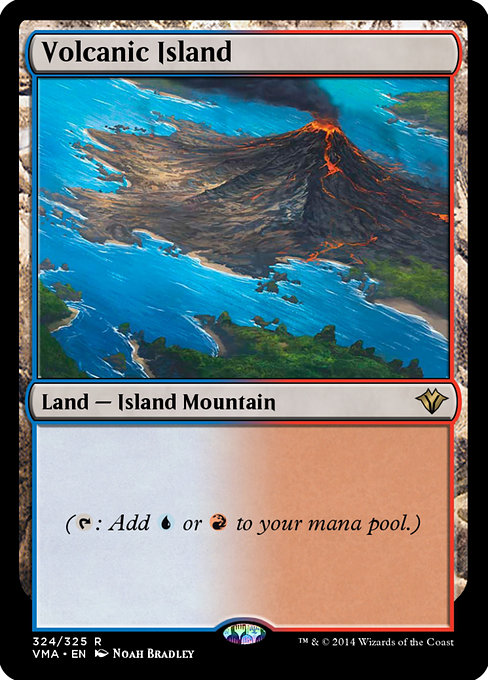
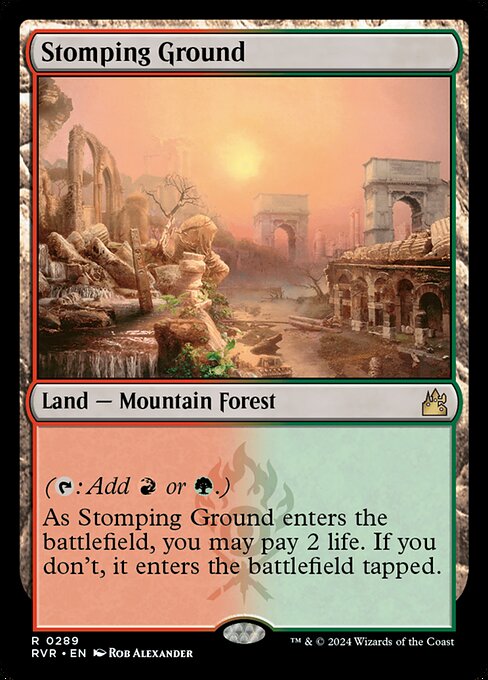
Lands that reliably and immediately produce two colors. You absolutely do not need these to start, but know they exist for potential upgrades down the road to make your color fixing even more consistent and reliable.
Lands that find other lands. Sometimes the best way to color fix is to search your library for the land you need in that moment. Cards like [[Evolving Wilds]] offer inexpensive options while cards like [[Arid Mesa]] cost a bit more but offer more flexibility.


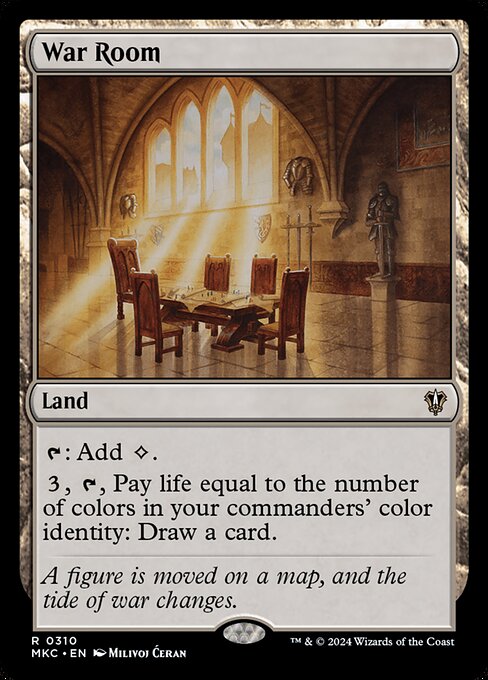
Utility Lands: Some lands have abilities beyond just tapping for mana. They might draw you cards, remove graveyards, or have other useful effects. Include a few that fit your strategy, but don't overdo it, as many utility lands have their drawbacks (only produce colorless mana, enter tapped, etc).

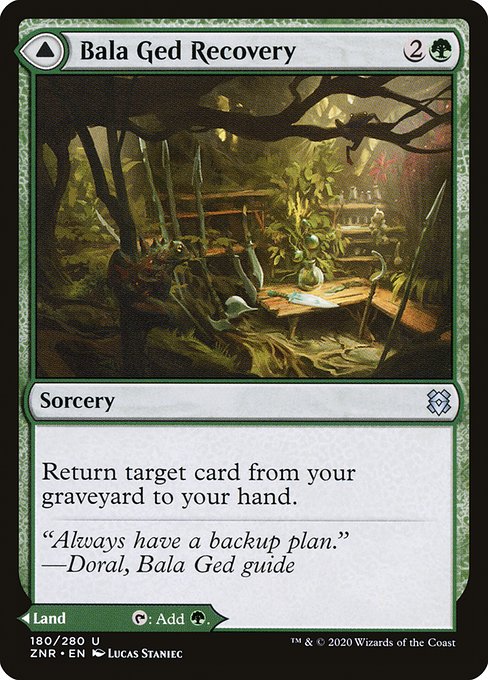
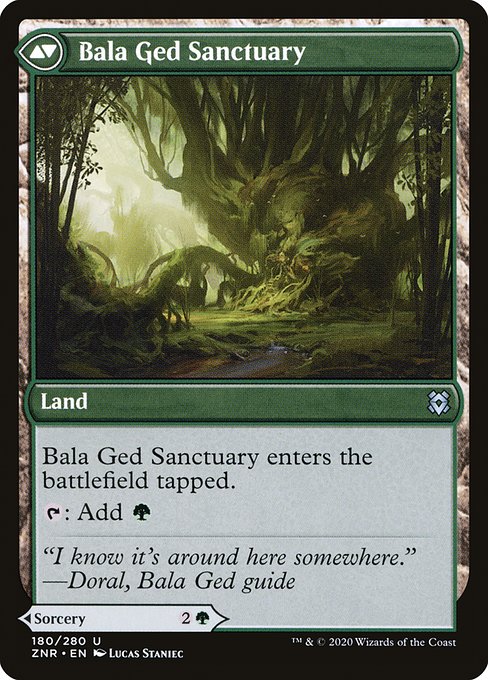
MDFCs: These cards are effectively 2 cards and in some cases their alternative side is a land. These cards provide a flexible option with the downside being only one side can be used at a time.


Ramp
Ramp refers to cards/strategies that increase your available mana beyond the standard one-land-per-turn limit. It lets you cast your bigger spells sooner ("ramping into them"), cast multiple spells in a single turn, and keep pace with your opponents who are also trying to ramp. In Commander, more mana = more options and it's why, in most cases, ramp is essential. There are a various ways to get access to more mana than the standard one-land-per-turn. Here are the main ways to do that:
Mana Rocks
Artifacts that tap to produce mana. These can be found in nearly every type of deck.


Land Ramp
Spells that search for lands and put them directly onto the battlefield. More resilient than artifacts.


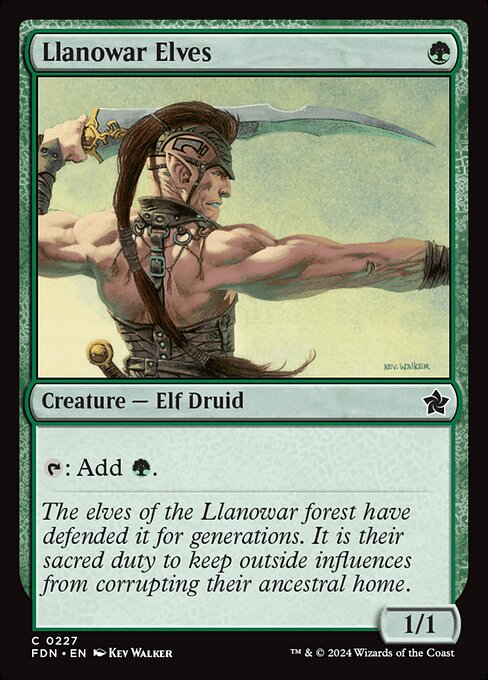
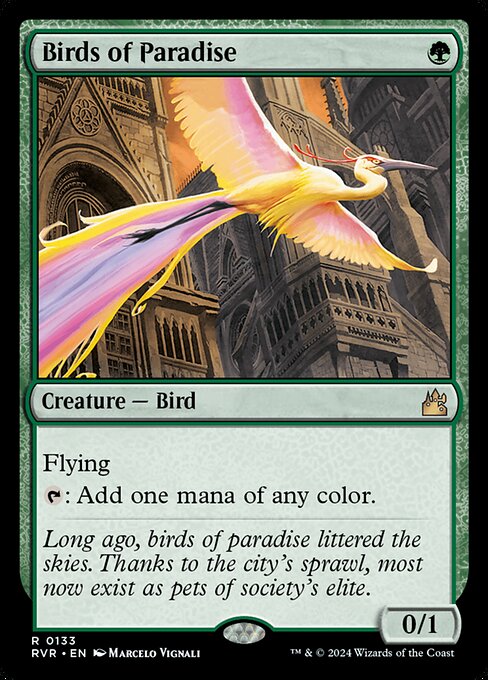
Mana Dorks
Creatures that tap to produce mana. Very fast but vulnerable to removal.
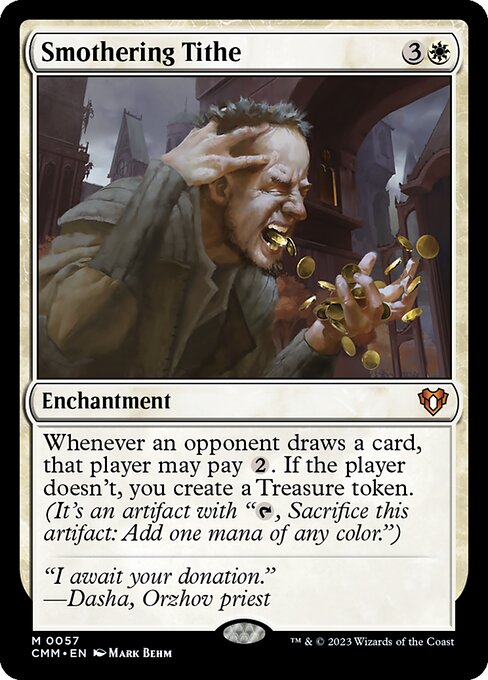
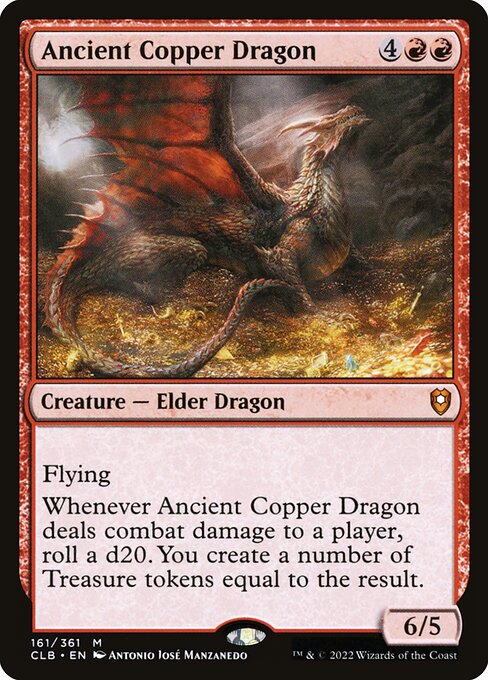
Treasures
Token artifacts that can be sacrificed for one mana of any color. Temporary but flexible.
Choosing Your Ramp Package
Make sure your ramp sources produce the colors you need most! Consider a mix: mana rocks are available to all colors, while Green gets the best land ramp and mana dorks. Think about speed (dorks are fast but risky) versus resilience (land ramp is safer). Aim for a good number of ramp spells you can cast early (costing 1, 2, or 3 mana).
4b Card Draw
You have mana, great! But if you don't have cards in hand to cast, that mana is useless. Card advantage means having access to more than the one-card-per-turn (sound familiar?). In a 100-card singleton format, keeping cards flowing into your hand is crucial for finding your key cards and answers to opponents' threats. Running out of cards often means the beginning of the end.
Types of Card Advantage
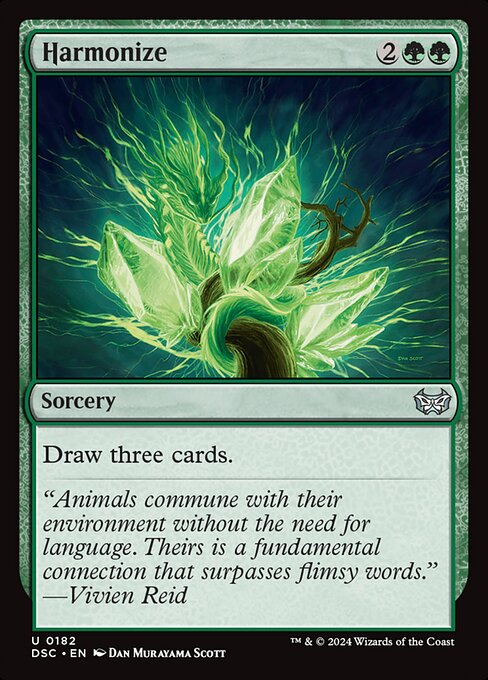
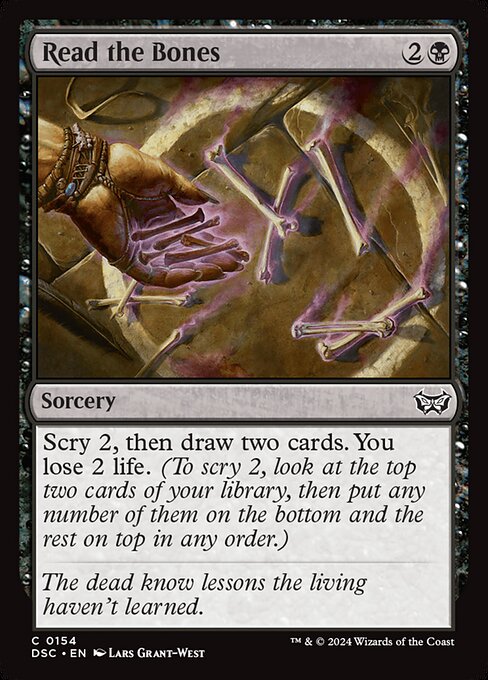
Burst Draw
Spells that draw you multiple cards all at once, often sorceries, leaving you with more cards then you had before.
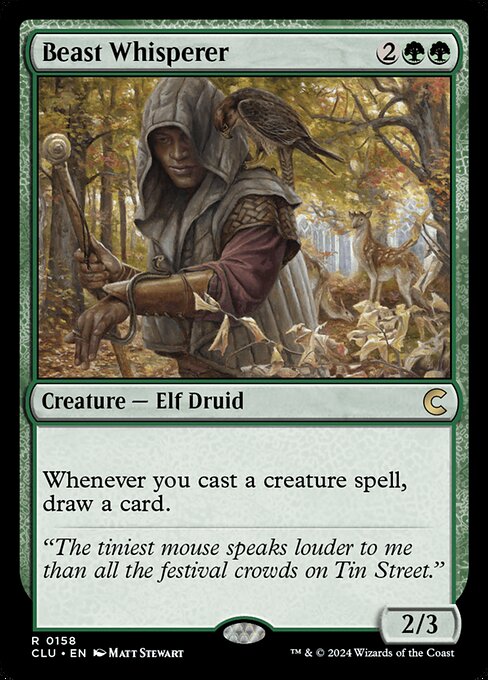
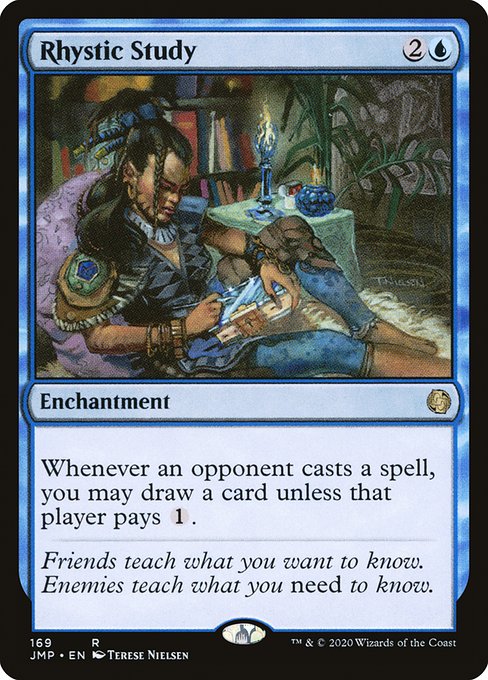
Repeatable Draw
Permanents that let you continually draw extra cards. These tend to snowball quickly in longer Commander games.
Card Selection/Filtering
Cards that let you look at the top cards of your library and choose the best one(s), improving the quality of your draws that follow.


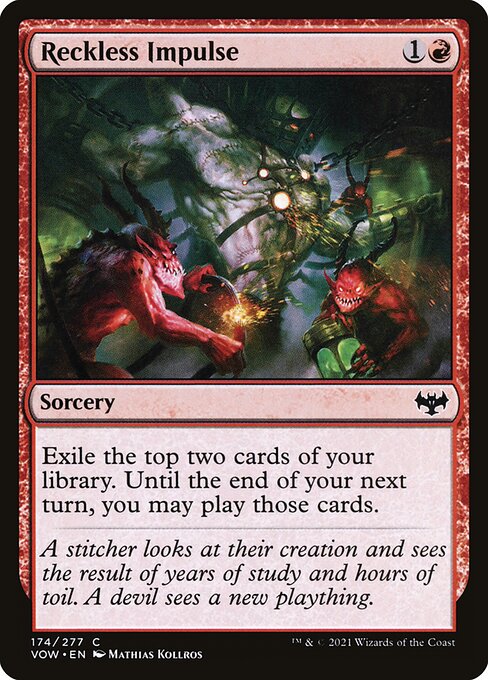
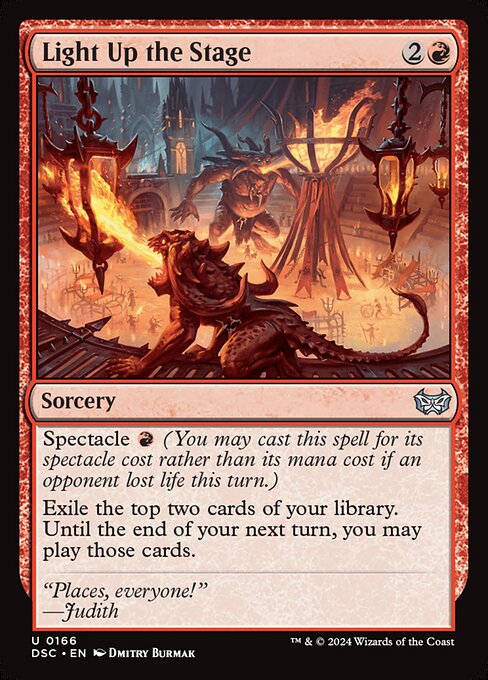
Impulse Draw
Often seen in Red. Effects that exile cards from the top of your library and let you play them for a limited time.
Choosing Card Advantage
Aggressive decks might prefer cheaper burst draw to refill after playing out their hand. Slower, control-oriented decks often rely on repeatable draw engines to stay ahead over the long game. Think about when you'll need cards and how your deck wants to get them. This will determine what kind of draw you need.
4c Interaction
Remember those other players at the table? They're trying to win too! Interaction refers to cards that let you deal with your opponents' threats, disrupt their plans, and protect your own important stuff. You can't just focus on your own game plan; you need to be able to react.
Types of Interaction
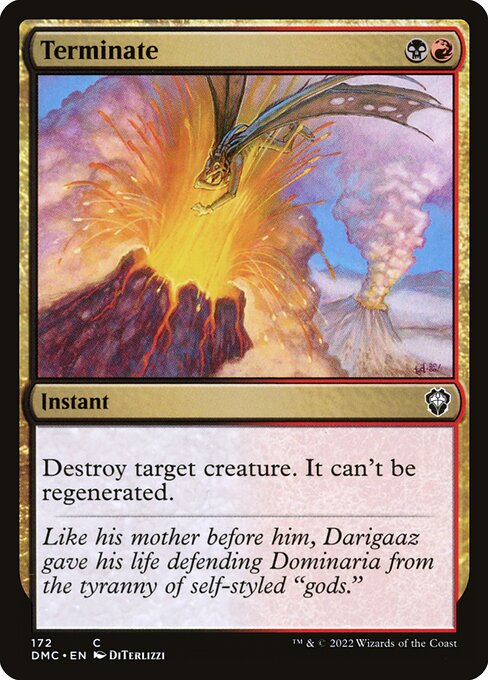
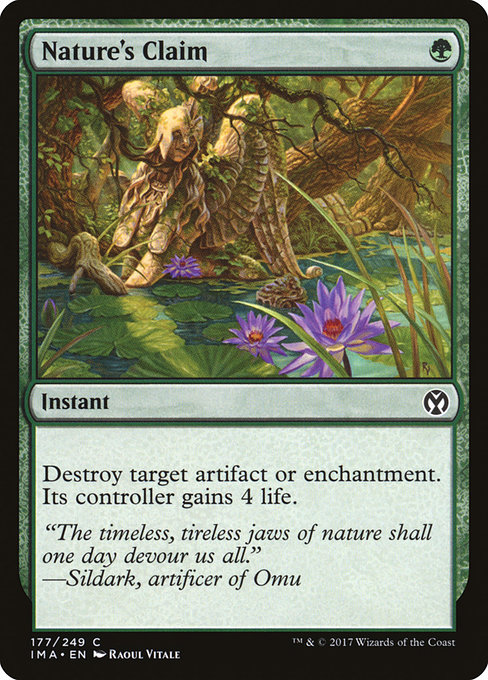
Targeted Removal
Spells or abilities that deal with a single permanent. Efficiency (low mana cost for the effect) is key with these.

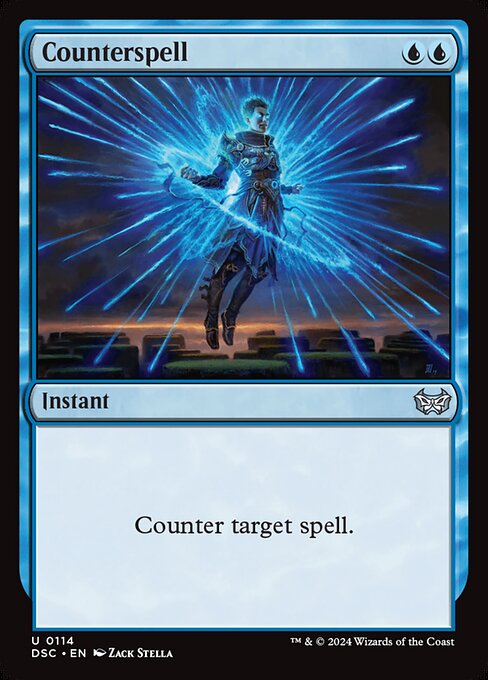
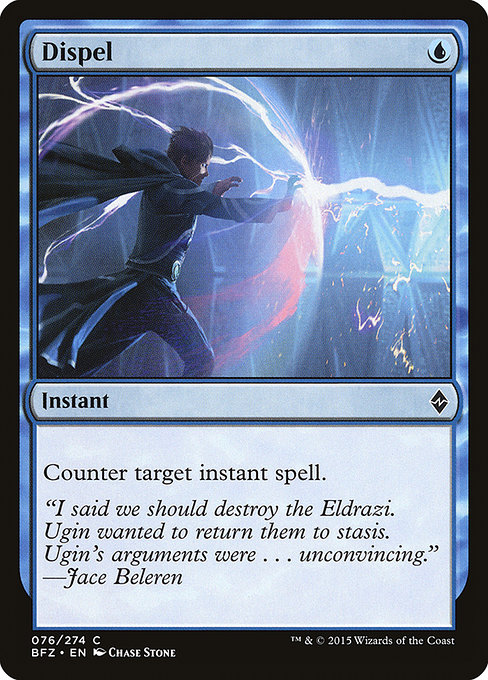
Counterspells
Primarily in Blue. Instants that cancel an opponent's spell while they are trying to cast it.
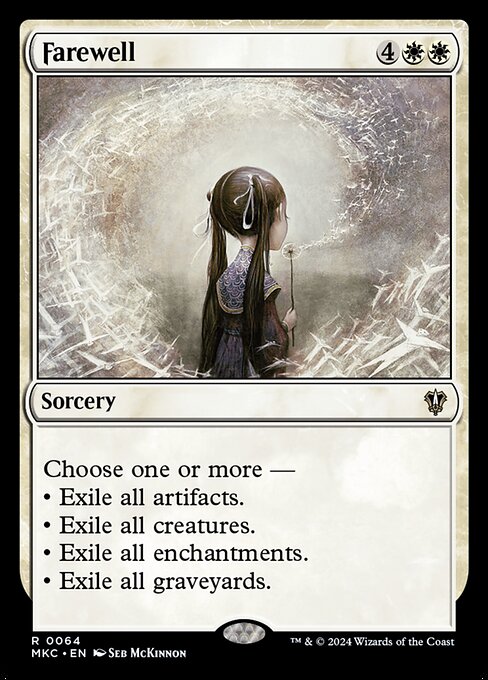
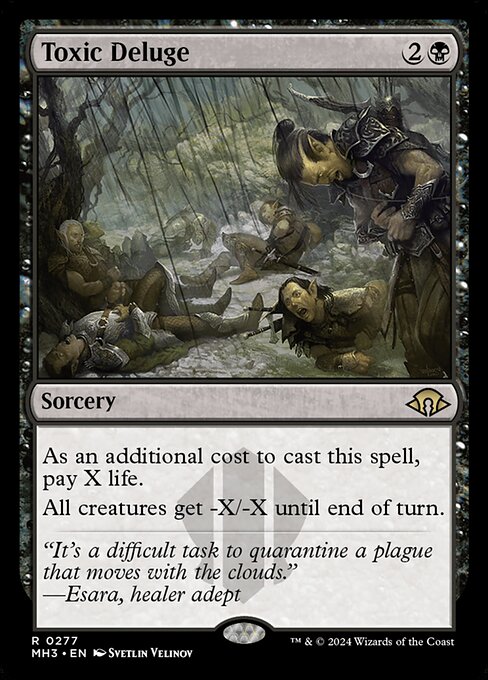
Board Wipes
Spells that destroy, exile, or bounce multiple permanents at once.

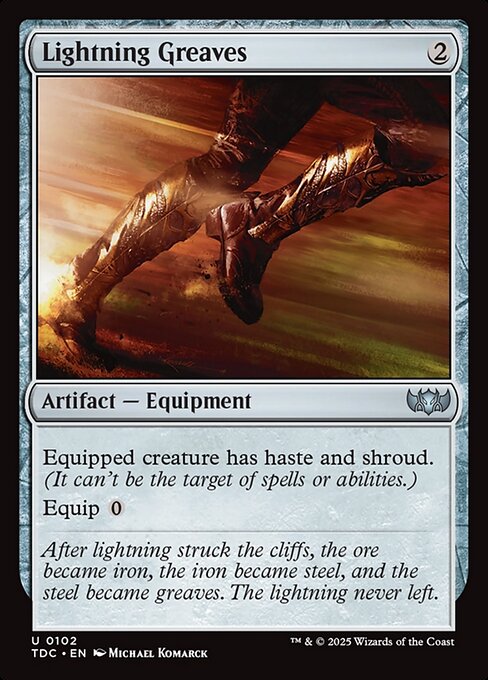
Protection
Ways to save your commander or other key permanents from opponent's removal.
Choosing Interaction
The type of interaction you should choose is mostly determined by the type of deck you're making. Control decks often run a lot of counterspells while aggro decks run a lot of protection. Remember, your deck should be trying to do one thing really well. Figure out what that is and the kinds of interaction you need to achieve that.
Part 5: Executing the Plan - Winning & Synergy
How to cross the finish line and make your cards work together
You've got mana, cards, and ways to interact. Now, how do you actually win, and how do you make all the pieces work together smoothly?
5a Win Conditions
A win condition (or "win con") is a card, combination of cards, or strategy that can likely end the game in your favor in a multiplayer setting (remember, you have multiple opponents with 40 life each so this is especially important for combat damage win cons). Just having good cards isn't enough; you need a way to close it out.
How to Win
Combat Damage
The most common way. This involves attacking with creatures until opponents' life totals reach zero.
Big Creatures
Playing huge, hard-hitting threats (often part of a Ramp strategy).
Wide Token Swarms
Creating lots of small creature tokens and attacking with an army (often boosted by "anthem" effects).
Voltron
Making your commander incredibly powerful with Equipment and Auras and winning through Commander Damage.
Combo
Using a specific interaction between two or more cards that creates a loop or effect that wins the game (e.g., infinite damage, infinite tokens, infinite mana into a big spell, making opponents draw their entire library, etc.). Note for beginners: While powerful, combos can be complex to assemble and sometimes unpopular in some playgroups. Maybe start with simpler win cons first.
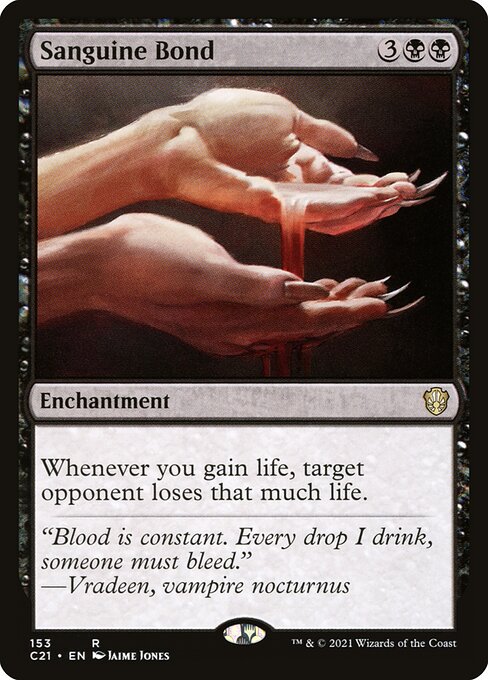
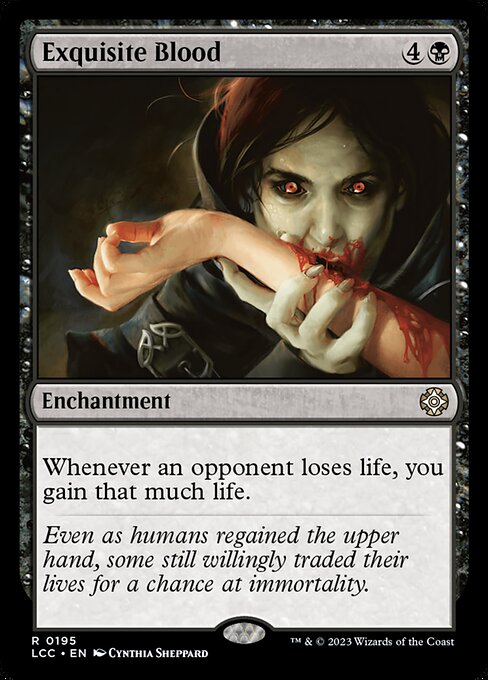
Sanguine Bond + Exquisite Blood: An infinite combo that starts the moment either you gain 1 life or an opponent loses 1 life.
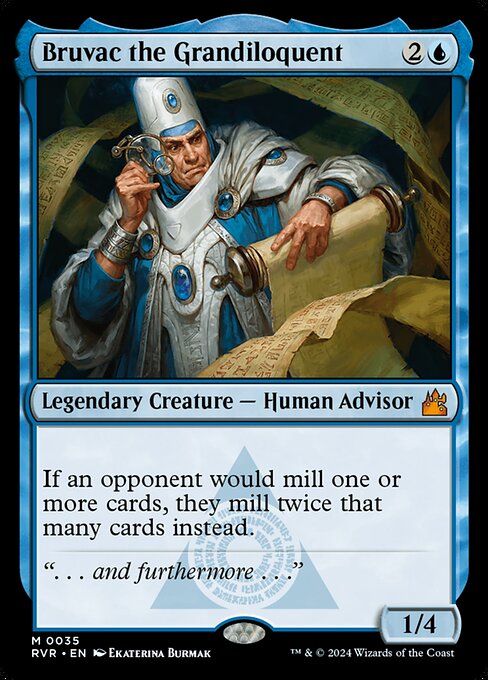

Bruvac + Maddening Cacophony: Makes each opponent mill their entire library causing them to lose the game on their next turn.
Direct Damage / Drain
Using spells or abilities that deal damage directly to opponents ("burn") or cause them to lose life ("drain"). This is harder to pull off as a primary win con against multiple 40-life opponents, typically requiring multiplies of some sort, but can supplement combat strategies or work in specific decks.
Alternate Win Conditions
Some cards have text that says "you win the game" if a certain condition is met. Another one is poison counters (a player with 10 poison counters loses). These are less common in casual play but very possible.
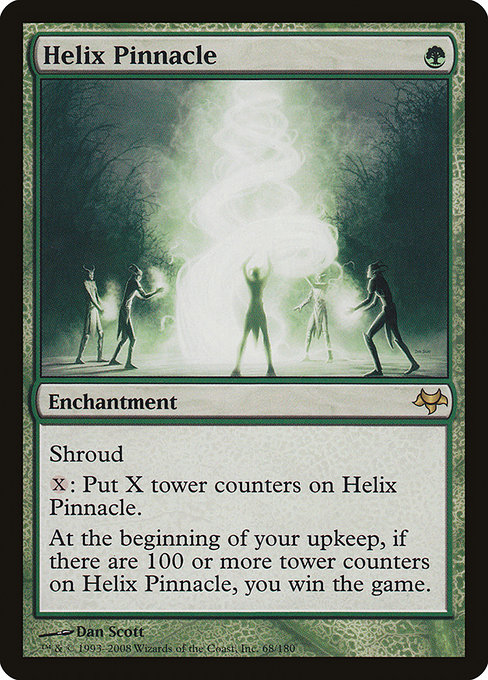
Helix Pinnacle: Win the game if you have 100 or more counters on it during your upkeep.
Having Multiple Angles: It's often wise to have a primary win condition linked to your deck's main theme, but also a backup plan in case your main strategy gets shut down.
Choosing Win Cons
It's really important to have just the right amount of win cons. It's far better to have 1 or 2 reliable and consistent ways to win vs many different routes. But, when choosing your win cons, if the card requires a bunch of other things to be helpful, and those other things likely could win the game themselves, then that's called a "win-more" card. You should avoid these because if you're including them it's likely you're skimping on another critical area that would likely be better for the deck.
5b Making the Deck Good
Synergy means cards that work well together, making the whole deck greater than the sum of its individual parts. These cards support your commander and your core idea.
What is Synergy?
Think of it like teamwork between your cards. If your commander cares about +1/+1 counters, synergistic cards would be other cards that create, benefit from, or multiply those counters.
Finding Synergies
Enhancing the Commander
Look for cards that directly make your commander better or trigger their abilities more often. If your commander draws cards when creatures enter, include more ways to make creatures!
Supporting the Core Idea
If your plan is "Swarm with tokens," include cards that generate tokens, cards that make your tokens bigger or give them abilities ("anthems"), and cards that benefit from having lots of creatures.
Tribal Synergies
If you're building around a specific creature type (Elves, Goblins, Dragons, Vampires), include "lords" (creatures that boost others of that type) and other cards that reward you for having that creature type.
Mechanic Synergies
Some decks focus on specific game mechanics, like casting spells (spellslinger), sacrificing creatures (aristocrats), playing artifacts (artifact matters), or putting cards in the graveyard (reanimator).
Part 6: Assembly & Refinement
Putting it all together and making it work smoothly
You've got the concepts, now let's put the deck together and make it work smoothly.
6a Casting Spells Smoothly
What is a Mana Curve?
This refers to the distribution of mana costs of the spells in your deck. Imagine sorting your non-land cards by how much mana they cost to cast.
Why it Matters
A good mana curve helps ensure you can use your mana effectively each turn. You want to be able to play cheaper spells in the early game and progress to more expensive, impactful spells later. If your curve is too high (too many expensive cards), you might do nothing in the early turns. If it's too low (too many cheap cards), you might run out of impactful things to do later.
Visualizing
You can literally lay out your cards sorted by mana cost (1-drops, 2-drops, 3-drops, etc.) to see the shape. Online deck-building tools (like DeckCheck, Archidekt, or Moxfield) automatically generate a visual graph of your mana curve.
Example Mana Curve Distribution
General Shape
For most decks, the curve looks like a bell shape, peaking around the 2, 3, or 4 mana cost slots, with fewer 1-drops and fewer very expensive spells (6+ mana).
- Aggressive decks tend to have a lower curve, focusing on playing many cheap threats quickly.
- Ramp and Control decks often have a higher curve, planning to use ramp to cast powerful expensive spells later.
Understanding Different Mana Curves
Aggressive Deck
Many low-cost spells for early pressure
Midrange Deck
Balanced distribution peaking at 3-4 mana
Control/Ramp Deck
Higher curve with expensive finishers
Building Your Curve: What all of this means is, depending on your deck strategy, your mana curve should follow a logical flow. Even though you're building a ramp deck, it doesn't mean you should throw in only high-cost spells. You're going to need to do things (besides ramp) between the start of the game and when you're able to cast those big spells.
6b Commander Deckbuilding Template
Here's the generic template you can use as a starting point for your 99 cards (plus your Commander):
Flexibility
These numbers are guidelines, not strict rules! They are a starting point. A commander with built-in card draw might let you run fewer dedicated draw spells. Often times, cards can serve multiple roles (a MDFC card can be interaction and a land ex. [[Sink into Stupor]]). A control deck might want more interaction. A combo deck might dedicate more slots to combo pieces. Adjust these ratios based on your specific commander, your chosen strategy, and especially after you test the deck.
The Process
- Choose your Commander. This sets the direction for your entire deck.
- Define your Core Idea. Determine what your deck's primary strategy will be.
- Gather candidate cards you own or are considering for each category (Lands, Ramp, Draw, Interaction, Win Cons, Synergy). Use resources like DeckCheck, Scryfall, EDHrec, etc for ideas if needed.
- Start slotting cards into the different categories, keeping the target numbers in mind.
- Make the hard cuts. Inevitably, you'll have too many cards. Prioritize cards that strongly support your main plan, are efficient for their mana cost, or fill multiple roles. Cut cards that are too slow, too situational, or don't align well with your core idea. Tools like DeckTrim can aid in this process.
- Finalize your 99. Get down to a rock-solid 99 cards (plus your commander, of course).
Card Categories Visual Guide
Lands
- Basic Lands
- Dual Lands
- Shock Lands
- Fetch Lands
- Utility Lands
Provides mana to cast spells
Ramp
- Mana Rocks
- Land Search
- Mana Dorks
- Rituals
- Cost Reducers
Accelerates your mana development
Card Draw
- Burst Draw
- Repeatable Draw
- Card Selection
- Impulse Draw
- Cantrips
Provides card advantage and options
Interaction
- Targeted Removal
- Counterspells
- Protection
- Board Wipes
- Graveyard Hate
Disrupts opponents' strategies
Synergy Cards
- Theme Enhancers
- Combo Pieces
- Value Engines
- Tribal Support
- Payoffs
Core of your deck's strategy
Win Conditions
- Combat Damage
- Combo Finishers
- Alternative Wins
- Direct Damage
- Mill
How your deck closes out games
6c Testing, Tuning, and Iteration
Building the deck is just the beginning. Now you need to see how it actually plays!
Goldfishing
You need to goldfish. And then you need to goldfish more. Play the deck by yourself simulating no disruptions ("goldfishing"). Shuffle up and play out the first 5-7 turns as if you were in a real game. Ask yourself:
- Do I consistently get enough mana of the right colors? Am I getting "mana screwed" (not enough lands) or "color screwed" (wrong colors)?
- Am I drawing enough cards, or does my hand empty too quickly?
- Can I cast my commander around the turn I expect to?
- Do the cards actually feel like they work together?
- Would everything crumble if an opponent countered/removed this key card?
Shuffle up and repeat several times to see different opening hands and draws. This helps identify major consistency issues before playing against others. If your deck is playing bad during goldfishing, you can bet it's going to be really bad during actual play.
Playtesting
The real test! Play against other people and their Commander decks. Pay attention to:
- What cards felt great when you drew them?
- What cards sat dead in your hand, un-castable or not useful?
- What did your opponents do that you wish you could have stopped but couldn't?
- Did you run out of resources (mana or cards)?
- Did your win conditions feel achievable?
- Most importantly: Was the deck fun to play?
The Tuning Process
Based on goldfishing and playtesting, identify the weakest links. What cards consistently underperformed? Were there situations you repeatedly couldn't handle? Now you swap cards out. Who and what you play against will influence this part as well. Sometimes your deck performs badly because the player you're up against is playing something that's a good counter to your deck's gameplan.
- Maybe you need more ramp, or cheaper ramp.
- Maybe you need more card draw.
- Maybe your removal doesn't hit the types of threats you faced (e.g., you had lots of creature removal but lost to an enchantment).
- Maybe a card just wasn't impactful enough.
Swap out underperformers for cards you think might solve those problems. Don't be afraid to make changes! Use tools like DeckCheck's "Power Up" feature or look at other decks with the same commander to figure out what to swap in and out. Your deck is a living thing; it's almost never truly "done." Tuning is a continuous cycle.
Part 7: The Elephant in the Room
Understanding the social aspects of Commander
Power Levels & The Social Contract
Now that you know how to build, it's really important to mention these concepts that might influence what you build.
Why It Matters
Commander is primarily a social format—which means players are typically seeking to have fun above all. The most memorable games of commander likely won't be the ones you win, but the ones that were the most fun. Games where one deck/player completely dominates ("pubstomping"), or where one player does absolutely nothing because their deck is much weaker, are usually less fun for the table. Additionally, many strategies, cards, or combos are soft-banned (you're going to get a lot of gripes and make a lot of enemies) in a lot of metas and including those things in your deck (even though it would be ideal to do so) can quickly turn a game sour. Understanding power levels and "Rule 0" helps avoid mismatched games and these bad experiences.
Power Level
Power level isn't an exact science, but here at DeckCheck we've spent a lot of time trying to make these as clear as possible. We've defined clear benchmarks and characteristics of each power level and have created a simple rating system upon that. See what each power level means here.
WotC (the creators of MTG) also has their own system to define power levels. Their system is called "Brackets" and you can read more about that here.
Talking to Your Playgroup (Rule 0)
The best way to handle power levels is to talk before the game starts! This is often called a "Rule 0 conversation." Ask things like: "What kind of power level are we playing?", "Are infinite combos okay?", "Are banned cards okay?", "How fast do your decks usually try to win?" This helps ensure everyone is on the same page and brings decks of roughly similar strength and doesn't play things the group doesn't want to face off against.
Building for Your Meta
Your "meta" or "metagame" just refers to the types of decks and strategies commonly played in a playgroup. If everyone you're playing against plays fast creature decks, you might want more board wipes. If someone always plays combo, you might need more specific interaction to stop them. You can tune your deck based on what you expect to face.
Part 8: Useful Resources
The things that make playing Commander better
Before I wrap this thing up, I'd be foolish not to share with you these wonderful resources. Here are some great online tools and communities to help you on your Commander journey:
Card Search
The gold standard for searching for Magic cards. Its advanced search syntax (which requires learning but is well worth it) is incredibly powerful for finding exactly what you need.
Deckbuilding & Community Sites
The best feedback-oriented builder. Helps you cut your deck down to 100 and gives you recommendations for how to improve your deck. Additionally, every deck on the website comes with a detailed analysis which makes searching and understanding decks super easy.
Great websites for building and testing (goldfishing) your deck. Both offer excellent visual representations of your mana curve, color distribution, and card types.
Excellent for seeing commander trends, common card pairings, and getting ideas based on your chosen commander or theme. Look for inspiration and understand why cards are played, don't just copy the top list blindly.
Content Creators
There are many fantastic MTG content creators out there. Look for ones known for Commander, beginner-friendly content, and deck building philosophy:
Very popular, covers various Commander topics, deck techs, and gameplay.
Excellent product reviews, tutorials (including deck building basics), and general MTG advice.
Wonderful content creator focusing on deckbuilding philosophy and ideation.
Excellent deck building theory and unique Commander content.
Go Forth and Command!
Whew, that was a lot! But hopefully, you now have a solid understanding of the core principles behind building a Commander deck. Let's quickly recap:
- 1 Choose a Commander that excites you and sets your direction.
- 2 Define a clear Core Idea or plan for the deck.
- 3 Build your foundation with Resources: Lands, Ramp, and Card Draw.
- 4 Include Interaction to deal with opponents' threats.
- 5 Have clear Win Conditions to close out the game.
- 6 Use Synergy & Theme cards to make the deck cohesive.
- 7 Pay attention to your Mana Curve for smooth gameplay.
- 8 Test, Tune, and Iterate — deck building is a process!
Remember, building your first deck (or your tenth) is a skill that improves with practice. Don't be afraid to experiment, make mistakes, and learn from them. The most important part of Commander is expressing yourself, creating cool moments, and having fun with friends.