Overview:
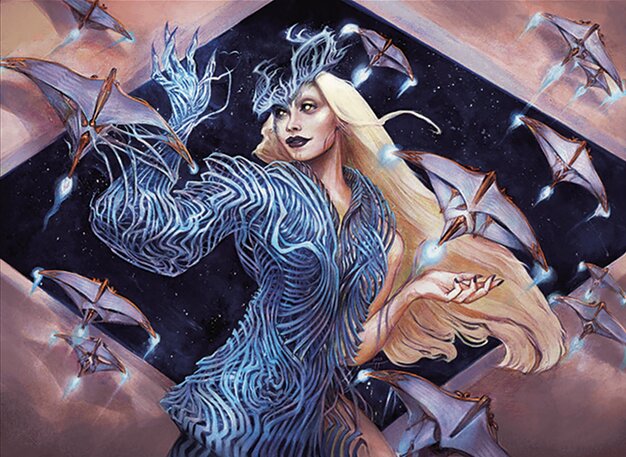
Breya, Etherium Shaper is built as a synergistic artifact combo deck leveraging multiple infinite loops and efficient tutors. The core strategy focuses on generating artifact tokens (Thopters, Myr) to fuel Breya's abilities or assemble game-ending combos. Key win conditions include infinite mana/damage via Thopter Foundry/Sword of the Meek with Ashnod's Altar, extra turns with Time Sieve, and recursive value engines like Nim Deathmantle/Wurmcoil Engine. The deck balances artifact synergies, tutor density, and interaction while maintaining vulnerability to common artifact hate.
Primer:
Core Strategy: This deck aims to flood the board with artifacts, assemble infinite combos, or generate overwhelming value through Breya's sac outlets. The game plan progresses through three phases:
- Artifact Acceleration: Deploy mana rocks (Sol Ring, Talisman of Progress), artifact lands, and token generators (Thopter Foundry, Myr Battlesphere) to enable early Breya casts and fuel sac outlets.
- Combo Assembly: Tutor key pieces with Whir of Invention, Enlightened Tutor, and Tezzeret the Seeker. Prioritize infinite loops like Thopter Foundry/Sword of the Meek/Ashnod's Altar (infinite life/tokens/mana) or Nim Deathmantle/Ashnod's Altar/Wurmcoil Engine (infinite death triggers).
- Win Execution: Convert infinite resources into victory via Breya's direct damage, Time Sieve extra turns, or combat with Cranial Plating-enhanced threats.
Mulligan Priorities:
- Keep hands with 3 lands (including artifact lands) and 2+ ramp artifacts.
- Prioritize early plays like Etherium Sculptor or Baleful Strix over slow value engines.
- Avoid hands without artifact synergy or combo potential.
Key Tips:
- Use Goblin Welder to recur combo pieces from the graveyard.
- Tezzeret, Master of the Bridge doubles as a finisher with his -8 ability.
- Protect critical artifacts with Academy Ruins recursion or Lightning Greaves.
- Time Sieve can win games with just 5 artifacts per turn - use Breya's token generation to enable it.
Avoid Traps:
- Don't overextend into board wipes before establishing recursion.
- Prioritize combo assembly over incremental value in high-power pods.
- Avoid keeping hands reliant on slow value engines like Sharding Sphinx.
Weaknesses:
Critical:
- Fold to artifact hosers like Stony Silence/Null Rod
- Graveyard hate disrupts Sword of the Meek/Myr Retriever loops
Moderate:
- Limited protection for combo pieces
- Relies on resolving key sorcery-speed tutors
Minor:
- Mana base vulnerable to Blood Moon effects
- Slow recovery from mass land destruction
Most Important Cards:
- Ashnod's Altar
- Thopter Foundry
- Sword of the Meek
- Time Sieve
- Nim Deathmantle
- Whir of Invention
- Urza, Lord High Artificer
- Tezzeret the Seeker
- Tezzeret, Master of the Bridge
- Phyrexian Metamorph
Attribute Ratings:
Speed: 7/10
- Can assemble T4-5 wins with ideal draws (T3 ramp into T4 combo)
- Average goldfish win by T6-7
Resilience: 6/10
- Multiple recursion engines (Academy Ruins, Goblin Welder)
- Vulnerable to targeted artifact hate and stack interaction
Consistency: 8/10
- 7+ tutors for combo pieces (Whir, Enlightened Tutor, Tezzeret)
- Redundant combo lines (Thopter/Sword vs Deathmantle/Ashnod)
Interaction: 6/10
- Targeted removal (Swords, Path, Vindicate)
- Lacks free counterspells for critical turns
Rating Justification:
This deck sits between "Focused Competitive" (7.0) and "Optimized" (6.5) on the rubric. It has:
- cEDH-adjacent combos but lacks free interaction/protection
- T5-6 deterministic wins vs T5-6 goldfish benchmarks
- Tutor density comparable to 6.5-7.0 decks but weaker stax resilience
Power level: 6.5 - 7.0
Enhance Your Gameplay
With premium accessories trusted by MTG players

Premium protection with industry-leading durability and shuffle feel


